Monday 30 July 2012

Interlude

Right, I'm back from the mountain after the big larp, so I'm going to start making stuff once more. Game was not very decent but I opened shop with all the stuff you see made here and actually sold some so at least I had a monetary gain from it.
But before that I really must indulge myself with my newest acquisition.Its an Oakshotte type XII, lovingly called by the local reenactors with the name - "The shovel" (because of the broad blade). Its blunted for training purposes and thus slightly unbalanced, but that can be fixed if I ever sharpen it. I'll get better photos once the camera is back in my possession. Even though my arms were nearly falling from the sockets from exhaustion.  I couldn't resist trying it out.


This is my sword. There are many like it, but this one is mine.
My sword is my best friend. It is my life. I must master it as I must master my life.
My sword, without me, is useless. Without my sword, I am useless. I must thrust my sword true. I must strike straighter than my enemy who is trying to kill me. I must strike him before he strikes me. I will...
My sword and myself know that what counts in this war is not the swings we make, the noise of our blows, or the sparks we make. We know that it is the hits that count. We will hit...
My sword is human, even as I, because it is my life. Thus, I will learn it as a brother. I will learn its weaknesses, its strength, its pommel , its hilt, its guard and its blade. I will keep my sword clean and ready, even as I am clean and ready. We will become part of each other. We will...

Friday 20 July 2012

How to make a larp boffer kukri

You know, because kukri are awesome  and gurkhas are awesome too. If you have one, you are awesome yourself by default(either a kukri or a gurkha).

Anyway, the kukri is perhaps the last still used curved blade in existence. Modern ones are smaller than the original, being all in all an oversized combat knife. Old kukris varied but at 40+ sm length, they fall right in the short sword category for me. Anyway

Larp boffer kukri. 

For the record, this is the first time I don't like how a new weapon turns out. The tip could have been better. 


I'm not going to give YET again the budget, tools and materials, since they are all the same as for other weapons around. One thing you should consider is how long you want your kukri - that is do you want a big knife or a short sword.

Anyway...

First things first. I decided to use 40something sm core for my kukri, which with tip and pommel would bring it close to half a meter. 
The core needs to get a roughly 20 degrees bend so we use the method described here.
Once its done we can start with the blade.
The blade itself is made in the same way as all other I've made so far.
 What is of note of course, is its more specific shape which can easily be achieved with extra layers of foam.
 After that its a rather mundane task to wrap it in tape and move to the handle piece right?


 First a piece of foam from a flip flop - it has density and durability and it will shape out the handle of the kukri.
 After that a few finishing touches with the paper knife and we are nearly finished.
Whats left to be done is by now standard procedure - wrap the handle in leather for better grip...
 A small pommel piece, just to keep the end of the leather firm and we are done.

 Chop chop!

Sunday 15 July 2012

Larp boffer javelin live testing photos.

Here are some photos from the live testing of the  MK 1 Boffer Javelins that went on during Saturday's training session. Range, usefulness and safety were all found to be good.


For the purpose of holding, I made myself a very basic javelin quiver, which was made for 10 min from available trash just for this one task, and thus won't get any more attention. I'll make a better one and post a how to for it in time.

 As it turned out the javelins fly well and can quickly turn someone who's busy otherwise(like trying to read from a spell book) into a pin cushion.

 "Direct hit!"


And another one!


"Oi you there! Catch!"

How to make a larp boffer javelin MK 1 a.k.a. Babby's first throwing spear

Right! The mark one boffer larp javelin passed both passive and live firing tests and I'm ready to present the model to the world. Mind you this is only MK 1, and I already have ideas on improvement based on my findings but they will be tested out later on. Photos from the live test can be found here.


But why javelins? And why designed like this? Well, javelins are a tried and tested weapon and very under represented in LARPs and boffer tags. After using them yesterday I'd say "Your loss!". Javelins have a fair amount of advantages. They fly best from all types of throwing weapons, they can fly at a high angle, effectively falling ontop of whoever's hiding behind a shield wall,  they can be used as a decent stabbing weapon themselves if need be. Sure a bow or crossbow is still the best ranged weapon on a larp battlefield, but your stack of javelins takes only one hand to throw so you can have a shield or weapon in the other hand.
They also take some practice before you learn how to throw properly but you can get the hang of it in an hour or two.

Now, why I designed them with a core? Well I've seen coreless javelins made only  with foam and they were...not impressive. If that's an issue with you, well don't follow my design.

Now - larp boffer throwing spears or javelins it is!


Budget: 10-15$ but you'd want to make a batch of em so the price would drop to 5-6 $ a piece.


Materials: Polypropylene pipe - thinnest possible(F20 for me), pipe insulation foam, tapes, wood texture wallpaper, some big nails.


Tools: just scissors and paper knife.

Let's get going then. Materials and tools are assembled.

 We start with securing same calibre pipe insulation foam on top of the pipe we are using for core.

After that make a counter weight like this one and hammer it into the front end of the pipe until its immovable.

We need to tip the balance forwards here, so that the spear would fall on its head as it should be.
 Then cover the counter weight with a plastic bottle cap and secure it with tape.

Then, we wrap the shaft with the wood texture wallpaper. Time to handle the two ends of the spear.


Now its time to secure the rear end of the javelin. This is done simply as a precaution - on hit the spear will bounce off and the rear end may strike someone in the face. 

Then we make the head of the javelin. Now, considering its a long range throwing weapon, and it often falls on high trajectory, I decided that unfortunately -a normal spear head will be a bad idea for safety reasons, So I simply cushioned it as if it was an arrow, except that instead of the usual 2-3 layers of foam used in arrows, I placed a total of 5.

 First layer of foam is placed...
Then another 4 layers and we are ready for aluminium foil tape. After that, we are done.


 But of course, when making javelins the question is, why stop at one? They are volley weapons after all, and even if you use them yourself you'd still want more than just one - make a whole stack of javelins and then call it a day.

Tuesday 10 July 2012

How to make a larp boffer mace

You know, by now you should have picked the basics of making proper larp weapons instead of dickswords and such...Besides, a mace is the simplest possible one to make, I mean everyone can make a mace right? Its one of mankind's first weapons among with the sharpened stick and the thrown rock. But okay here's the way to get one.


HOMEMADE LARP BOFFER MACE


Budget - as usual - 10-15$ if you are starting fresh, the more weapons you make, the cheaper they will get.

Materials: Polypropylene pipe, foam, wood texture wallpaper, glue. Tapes.

Tools: Usual - scissors, paper knife,


First things first, get a roughly baton length piece of pipe.

Next we glue a layer of wood textured wallpaper and the shaft of the mace is ready to go.
After that its time to make the head. Since we are talking about a mace - you gotta make sure it has 360 degrees coverage - there is no edge to it. Also, don't make the head too short, you don't want to hit people with a naked pipe on the head. Same thing we did with the war hammer - give it a good safety length - better safe than sorry.
After the first layer of foam, lets add some extra as well as bonus bumps. Don't make it too complex - the more spikes and such you make, the easier it will be to get it damaged. If  you make something like Sauron's mace from the intro of Lord of the Rings: The fellowship of the Ring, chances are it won't last even a single fight.

Whatever shape of the head you've picked, its time to tape it up.

Finally an old cap from a bottle of pills to cover the other end so that it won't slip out of your hand accidentally. There, we are done, you can go clobber someone on the head.

Saturday 7 July 2012

How to quickly age paper for larp scrolls, books and other uses.

Aaaah yes, there is a damn big larp game in 2 weeks and everyone is busy with careful and meticulous preparations for it, wanting to look their best...naaah who am I kidding? The vast majority of players, heh even GM and organisers sometimes, won't lift a finger until the very last moment.

So imagine now that you are in such a situation, and you discover that you will have to make some scrolls or maps or notes or books or whatever. Point is - you need paper. Alas, its the 11th hour and the clock is ticking! You look around the house and sure enough, you got some paper...size A4 for your printer, which is pristine white and too modern for the job. Apart from that, no paints, and certainly no 3-4 days to leave it out in the sun.


Fortunately, there is a solution to this problem and it lies in the kitchen.

Go make yourself a nice cup of instant coffee. I used nescafe but thats details.

Here is a sheet of A4 paper, cut in half. This will be our test subject.


Now soak it with instant coffee completely, then leave it to dry somewhere outside in the sun.

Next step...get back inside and finish drinking your coffee. You got 20-30 minutes to wait, or even less, considering the current heat wave. After that, go out and pick your freshly aged paper.

 Here you can see it compared to a fresh pearly white A4 sheet. Now, its useable for larp purposes.


Allright! Now lets try the art of diplomacy with that orc warlord over there...
Any volunteers for messenger duty? 
Anyone? Anyone?!?

How to make a larp boffer war hammer

After an inevitable delay, I'm back crafting weapons. Now, the subject of this post will be the war hammer.
War hammers are rather rare in most larp games, their specific job of armour breakers often not taken into account. But first to clarify something.


This is a war hammer.


This...is a cartoonish joke of a weapon.
Unfortunately the popularity of Wacraft 3 and World of Warcraft also means a lot of people get the wrong ideas and start using ridiculous designs and wearing latex house-sized pauldrons.
Admittedly back in the day when Chris Metzen was doing the Warcraft artworks they were honest to god high fantasy, not high stupidity.

But I digress, back on topic. 

So - war hammer. First things first -

BUDGET - about 15$ if you start from scratch. Less if you already have some of the supplies and materials.


Materials: 

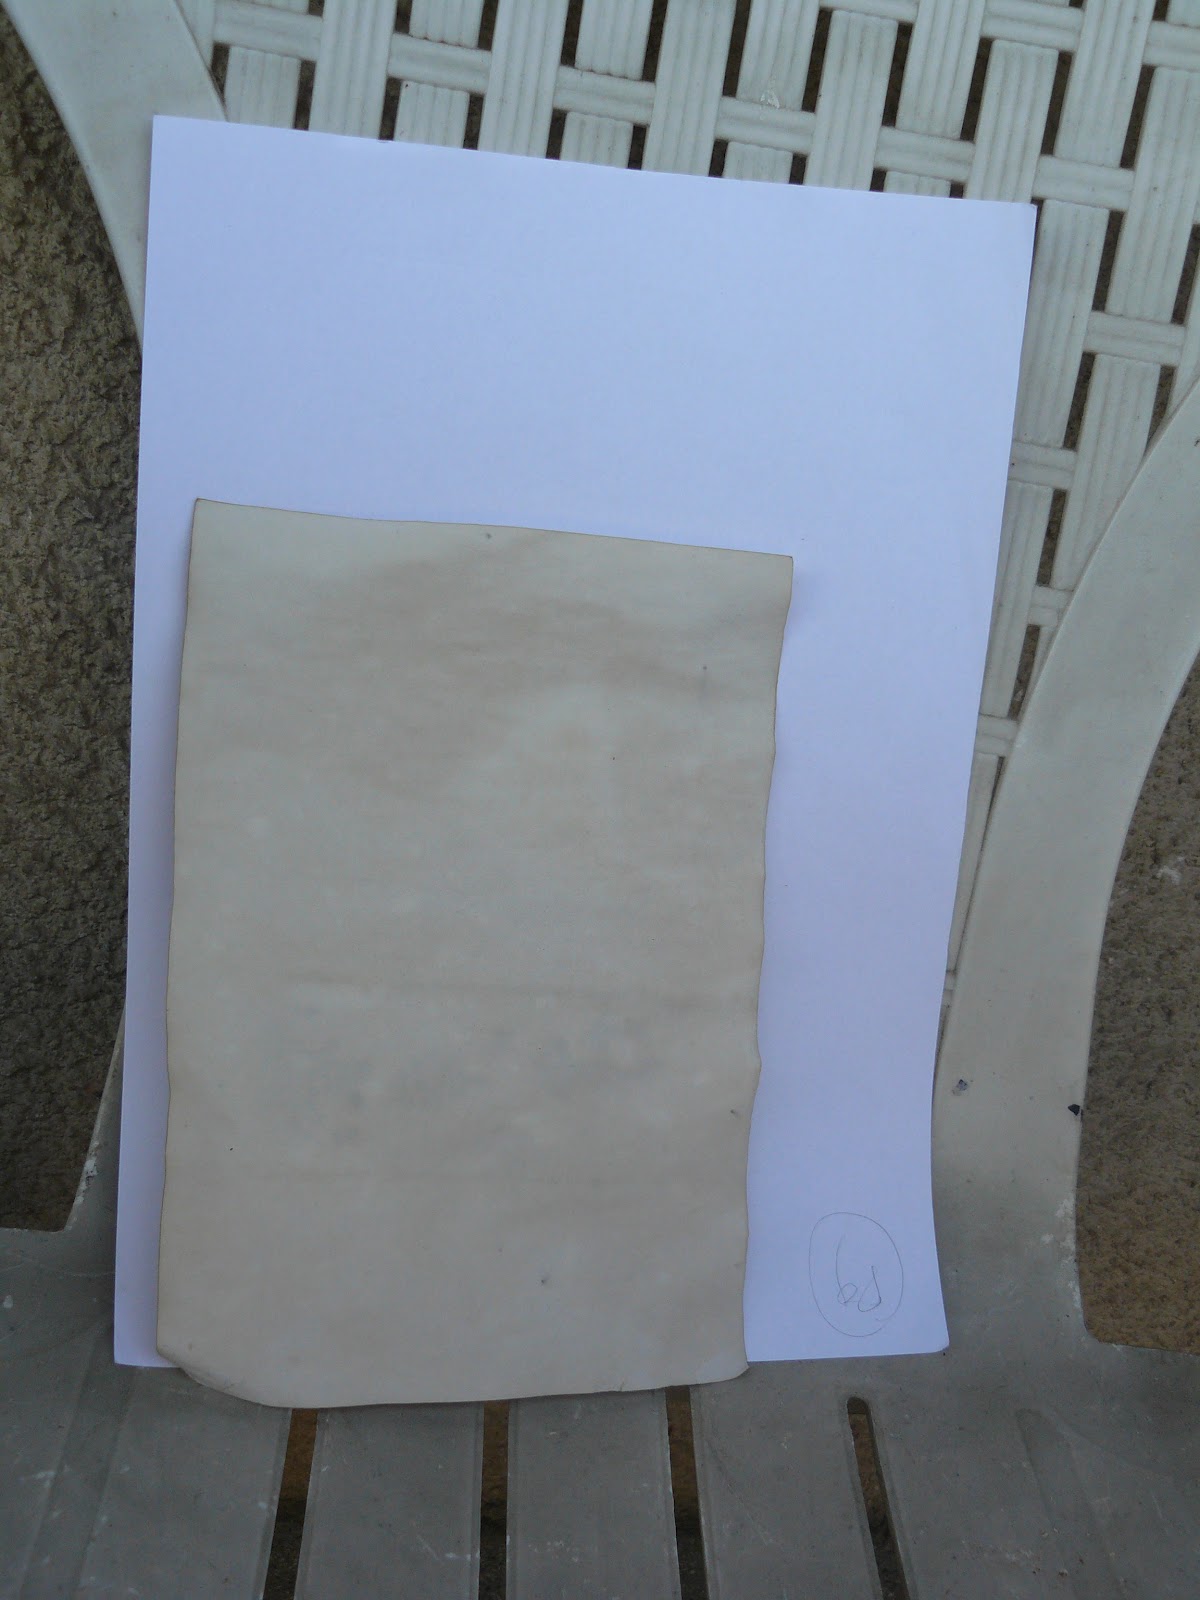
One polypropylene pipe, around half a meter long (F20 or F25), pipe insulation foam, duct tapes, quick glue, blind rivets,  1 meter of wallpaper with wood texture(They only sell those by the meter anyway). Plastic bottles and cardboard.

Tools: The usual for making a larp sword AND a tool for blind rivets + drill or hammer&nails.


 First we start by cutting the plastic bottles and dividing them into two equal piles and taping them together. This will give us the the core of the hammer head. I used a total of 4x4 layers +1 for the job.

After that we roughly shape the hammer head and leave it like that. Here is where you decided just how you want it to be, so make your pick. I decided to leave the spike and hammer head longer for safety issues. Not the best decision in regards of aesthetics but its a bit inevitable, larp boffer weapons are by default thicker than real world or latex counter parts.
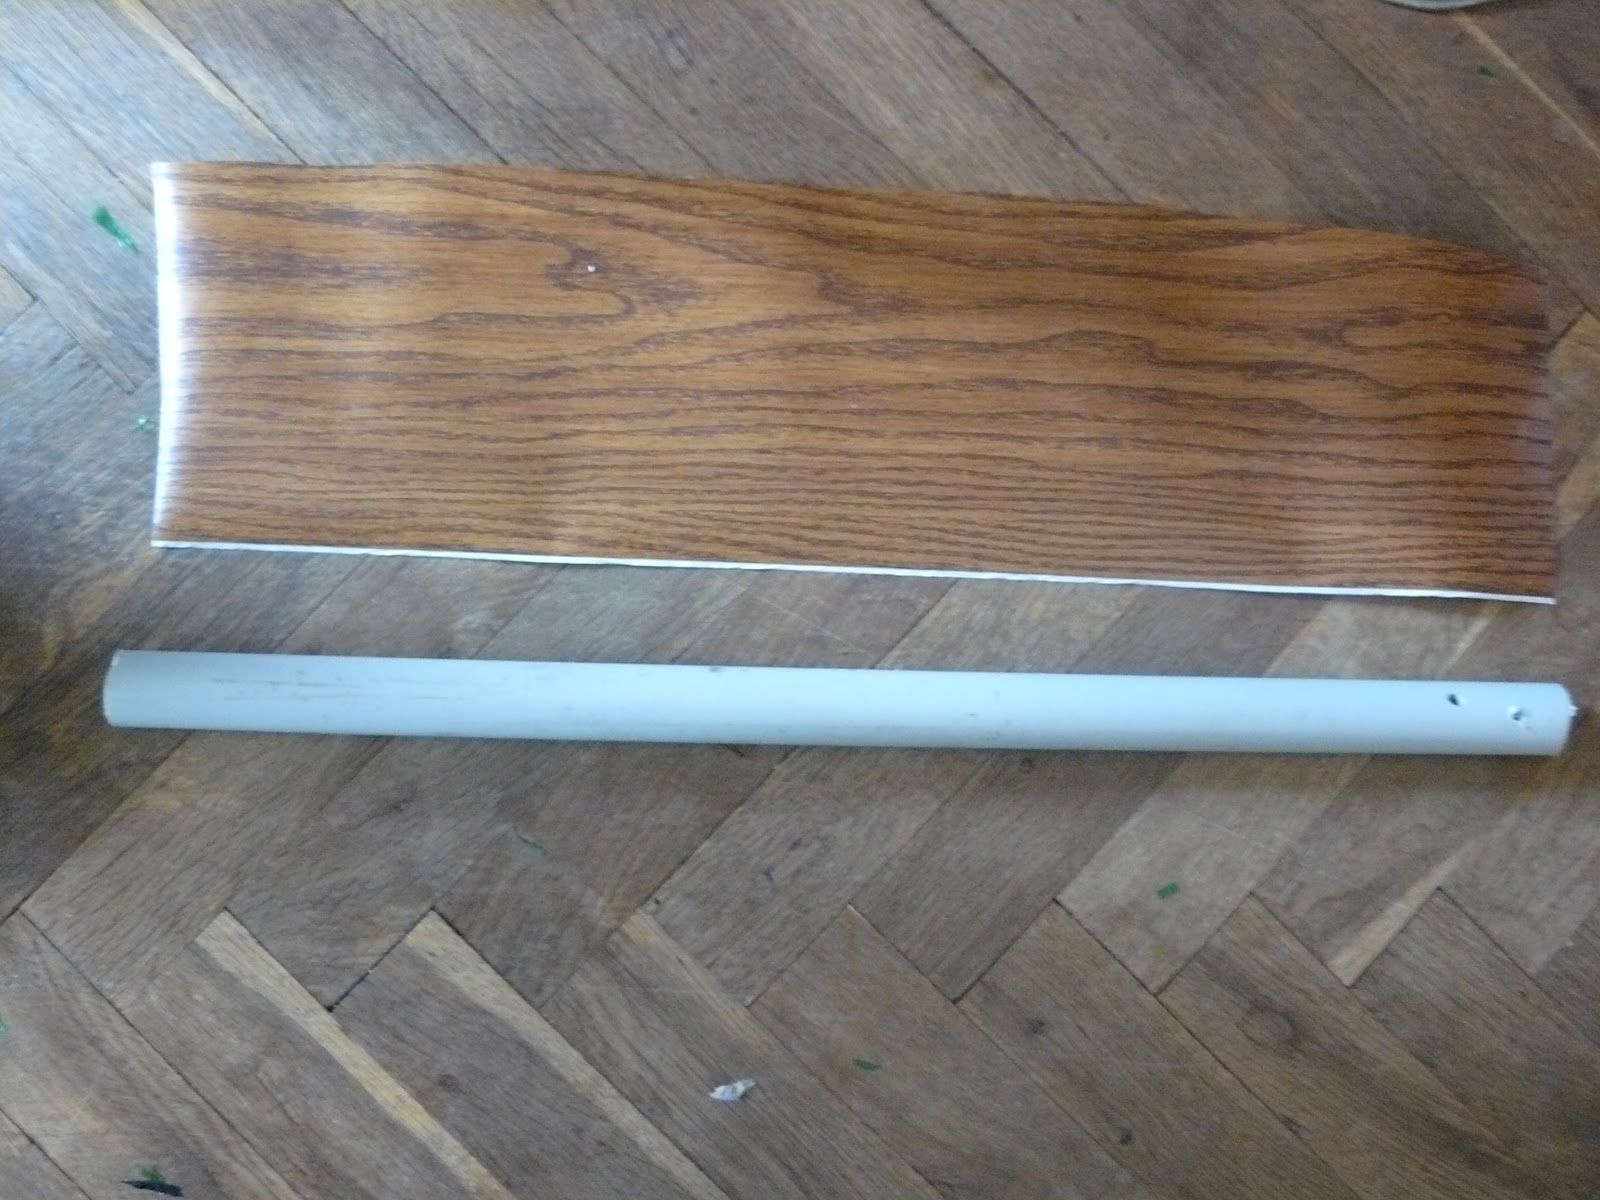
Next thing to do is rather simple - cut out a piece of the wood texture wallpaper and glue it to the shaft.

 Now some people might actually mistake it for real wood and call weapon arbiters on you to inspect your hammer, but hey, if they do it - it means you've done a good job.

Next thing to do is rather important. After stuffing the hammer head with some cardboard for thickness. Fit it to the shaft, drill 4 holes and use blind rivets to secure it firmly in its place.
Now the head can withstand allmost anything without tearing from the shaft. Don't try anything stupid to test it though.


Next we have to make sure the top part of the shaft is safe, it will be bad if your swing falls short and you break someone's nose with the naked pipe right?

 With that done its a simple job to shape out the hammer head and then cover it all with tapes.


 With this, our war hammer is finished and ready for use. Now go find something to smash.

Here it is compared to a knife and a sword to get an idea of the size. Shorter weapons are sometimes a better idea.